







How to Photograph Resin Lamps for Instagram: A Collector's Guide

Your handcrafted collection looks stunning in person and somehow comes out flat, grainy, or weirdly yellow when you photograph it. You've blamed your phone, the lighting, your photo editing skills. The real culprit is usually one specific thing most collectors don't know about: light direction.
This guide covers how to photograph resin lamps and other handcrafted decor pieces for Instagram, smartphone-only, no fancy gear required. The techniques work for any glowing or translucent piece: glass orbs, candles, salt lamps, fairy lights, anything that catches light from within.
Why Glowing Pieces Are Hard to Photograph
Resin's defining quality, the warm internal light glowing through translucent material, is exactly what makes it hard to capture on camera. Smartphones automatically adjust exposure to balance the bright glowing center with the darker surroundings. The result: an over-exposed lamp center that washes out and a too-dark room around it. Or the reverse: a properly exposed room with a tiny dim glow that doesn't capture how the piece actually looks.
Add to this the fact that most home lighting fights against decor photography. Cool overhead bulbs cast harsh shadows, mixed Kelvin temperatures create weird color casts, and direct overhead light flattens the very depth that makes resin pieces interesting in the first place.
The solution is controlling three variables: ambient room light, the angle the lamp's internal glow is shot from, and the camera settings (specifically exposure compensation). Each of these costs $0 to fix.
The Setup: Three Light Sources, One Subject
| Light Source | Position | Purpose |
|---|---|---|
| Subject's internal LED | Inside the resin piece | The "hero" glow that makes the photo work |
| Soft ambient room light | Behind the camera, dim | Reveals texture and surface detail without overpowering the glow |
| One backlight or rim light | Behind/beside the subject, very dim | Adds depth; separates the subject from background |
For all three sources, the goal is warm white (2700K-3000K) and dim. Bright cool light kills resin photos every time. The biggest mistake first-time collectors make is turning on every light in the room before shooting. Do the opposite: turn off the overhead and rely on small, low, warm sources only.
Step 1: Pick the Right Time of Day
The single best time to photograph resin pieces is the hour after sunset, with curtains slightly drawn and one warm lamp on in the room. Outdoor light is gone, indoor light is dim and warm, and the resin's internal glow becomes the brightest thing in the frame.
Second best: golden hour just before sunset, with the subject placed slightly away from a west-facing window. The warm directional sunlight matches the warm internal glow and adds dimension to the surroundings without competing.
Worst times: midday with bright sun streaming through windows (the resin glow disappears against the sunlight), or fluorescent kitchen overhead light at any hour (cool color cast destroys the warm tones).

Step 2: Choose the Angle (Most Important Step)
Resin pieces are 3D. Photographing them from one angle (typically straight on) flattens the depth and loses the magic. Try three angles for any piece and pick the one that captures it best:
- 3/4 angle (best for detailed pieces): Rotate the piece 30-45 degrees away from straight-on so you see two faces of the resin. Reveals depth and the way light catches different surfaces.
- Slightly low angle (best for tall pieces): Camera at desk-level looking slightly up at the piece. Makes the lamp feel imposing and dramatic. Works for fantasy and gaming pieces.
- Slightly high angle (best for ornamental pieces): Camera at standing height looking down. Captures floral arrangements and decorative pieces that have visible top detail.
Avoid: dead-center straight-on shots (boring, flattens depth) and extreme low angles (distorts the subject and looks amateurish). Stick to subtle angle adjustments.
Step 3: Adjust Exposure Compensation
This is the trick that separates amateur from intentional. Modern smartphone cameras have an exposure compensation slider (look for the +/- icon in the camera app). Drop the exposure by 0.5 to 1.0 stops before taking the photo. This tells the camera to expose for the bright resin glow rather than averaging the whole frame.
The result: the room around the lamp goes slightly darker, the glow becomes the focal point, and you capture the actual appearance of the piece. iPhone, Pixel, and Samsung all have this control buried in the camera app. Look for it next to the focus indicator after you tap to focus.
For a deeper look at how lighting interacts with photo composition more broadly, our piece on 5 lighting mistakes that make any room look cheap covers the same warm-vs-cool principles in any context.
Step 4: Style the Background (Less Is More)
The most common mistake on Instagram resin shots: a cluttered background that distracts from the piece. Books stacked behind, mugs to the side, a phone charger snaking across the desk. Each of these elements steals attention.
The fix: remove everything from the frame except 1-2 intentional supporting elements. A folded linen napkin under the piece, a small plant or single book beside it, a wood texture or matte black tray as the surface. That's it. Less in the frame means more attention on the subject.
For inspiration on minimalist styling principles applied to decor, the broader interior design framework in our minimalist room design guide covers the "less in the frame" principle for living spaces, which transfers directly to photography.
Step 5: Edit Lightly, Not Heavily
Smartphone editing apps like VSCO, Lightroom Mobile, and Snapseed are powerful enough to ruin a photo as easily as fix one. For collector photography, the only edits that consistently improve a shot:
- Slight warmth boost (+5 to +10 on the temperature slider): Enhances the golden glow without going full sepia
- Lower highlights (-10 to -20): Pulls back the bright center and reveals more detail in the resin
- Lift shadows (+5 to +10): Brings out subtle texture in the darker surroundings without flattening the image
- Slight clarity/structure boost (+5 to +10): Sharpens the resin edges without making the image look gritty
Avoid: heavy contrast, oversaturation, dramatic vignettes, color grading filters that shift the entire image toward orange or teal. The goal is to enhance what's there, not transform it into something else.

Common Mistakes That Wreck Resin Photos
- Flash on: Kills all atmosphere, washes out the internal glow, never use flash for resin
- Bright overhead room light during the shot: Competes with the resin glow and creates harsh top-down shadows
- Phone too close: Smartphones lose focus quality when too close; back up and zoom in slightly instead
- Cluttered background: Removes attention from the subject, makes the photo feel disorganized
- Heavy filters: Resin's appeal is the natural warm glow. Filters shift colors and lose the authenticity
If you're consistently fighting one of these (most photographers default to one specific bad habit), audit your last 10 resin photos for the pattern. Fix the single recurring issue and the average quality of your photos jumps immediately.
iPhone-Specific Tips That Save Resin Photos
iPhone cameras (12 and newer) handle resin photography particularly well, but only if you turn off two automatic features that fight against the warm-glow aesthetic.

Turn off Smart HDR. Apple's Smart HDR feature automatically blends multiple exposures to balance the bright resin glow with darker surroundings. The result usually looks flat and over-processed. Find Smart HDR in the Settings app under Camera and toggle it off. You'll capture the actual scene rather than Apple's interpretation of it.
Disable Live Photos for resin shots. Live Photo mode subtly changes how the iPhone meters light and can make warm scenes look cooler than they are. Tap the Live Photo icon (top of camera app) to toggle it off when shooting decor. Re-enable for portraits and travel photos where the motion capture is actually useful.
A Posting Strategy That Works for Collectors
Photographing resin pieces is half the battle. Posting them effectively is the other half. The collectors with thriving Instagram pages share three habits worth copying:
- Consistent visual signature: Every post uses similar warmth, similar surfaces, similar styling. Your feed becomes recognizable at a glance, which keeps followers engaged across multiple scrolls.
- Captions that tell stories: "Found this at a craft fair last weekend" beats "New piece in my collection." The narrative is what makes followers stop scrolling and actually engage.
- Tagging the maker: If you're photographing handcrafted pieces, tag the artist or studio. Many makers reshare collector photos, which exposes your account to their followers and builds the relationship over time.

For collectors who want to go deeper into the craft of decor photography, our piece on how lighting color affects perception covers the science of warm versus cool light that directly informs photography decisions.
Frequently Asked Questions
Featured Resin Lamps
Handcrafted with care, each one unique
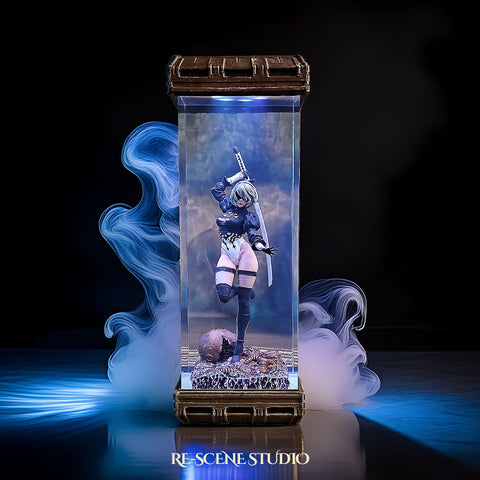

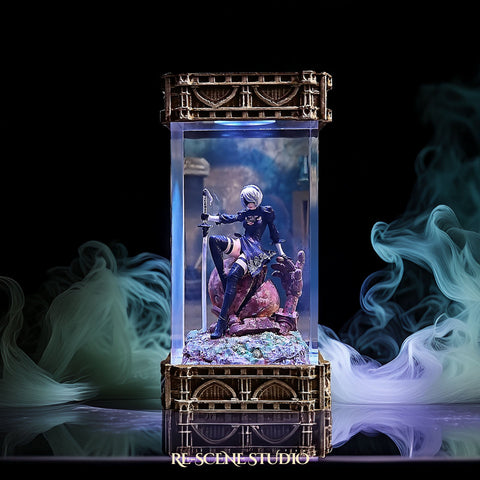
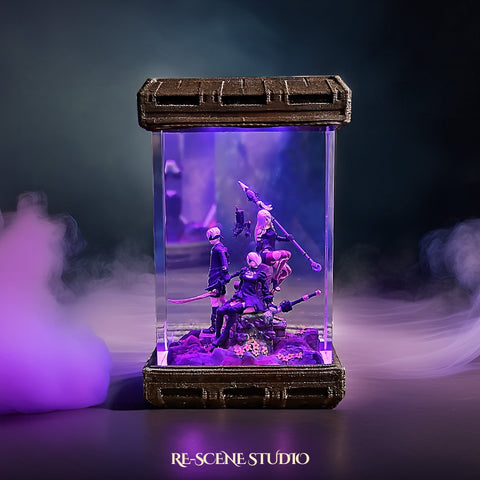
Every lamp we create carries a piece of our heart: a small universe of light, resin, and imagination, handcrafted in our workshop for someone across the world who shares our love for these stories.